
As winter melts into spring, my kitchen becomes a sanctuary where the scent of baked apples wafts through the air, ushering in that bittersweet nostalgia for past gatherings. When the renowned celebrity chef Julie Andrieu unveiled her game-changing tip for creating an unforgettable apple tart, I couldn’t help but feel that my baking game was about to rise to a new level. It’s a simple technique that turns ordinary ingredients into a masterpiece of flavor.
Highlights
- ✨ Transformative Trick: Pre-cook apples for a jammy filling.
- 🍏 Ingredient Essentials: Select the right apples for optimal taste.
- 👩🍳 Baking Simplified: A step-by-step guide to your perfect tart.
- 🍨 Serving Suggestions: Pairings that elevate your dessert game.
The Apple Selection: A Sweet Start
The foundation of any stellar apple tart lies in the apples themselves. I’ve tried various varieties over the years, and believe me, the difference is as striking as night and day. For a truly unforgettable experience, opt for Golden or Reinette apples. These varieties not only lend the right sweetness but also retain their shape during baking.
Think about it: when you bite into your tart, you want the apple pieces to sing, not dissolve into mush. Now gather your ingredients—approximately 4–5 apples, a sprinkle of cinnamon for warmth, and of course, a rich brown sugar for that caramel undertone. Don’t be shy; quality makes all the difference!
Cook ‘Em First: A Genius Baking Trick
Now, let’s talk about Julie’s secret. Instead of tossing raw apple slices directly into the crust, you’ll want to cook them first. Why? Because this genius method allows the flavors to concentrate, creating that jammy consistency that makes your tart absolutely irresistible. I often find myself caressing the apples on the stove, recalling my childhood as their aroma fills my kitchen.
Here’s how it goes: peel and chop your apples, then cook them on low heat for about 20 minutes. Toss in some lemon juice, apricot jam, and a splash of cognac to turn that apple mess into a velvety filling.
Crafting the Tart: Step-by-Step Perfection
Now that your apples are of heavenly consistency, it’s time to assemble the tart. Preheat your oven to 375°F, and prepare your pie shell. A removable base is key here; I’ve learned that the hard way. Grease and flour the tin—trust me, the payoff is well worth it.
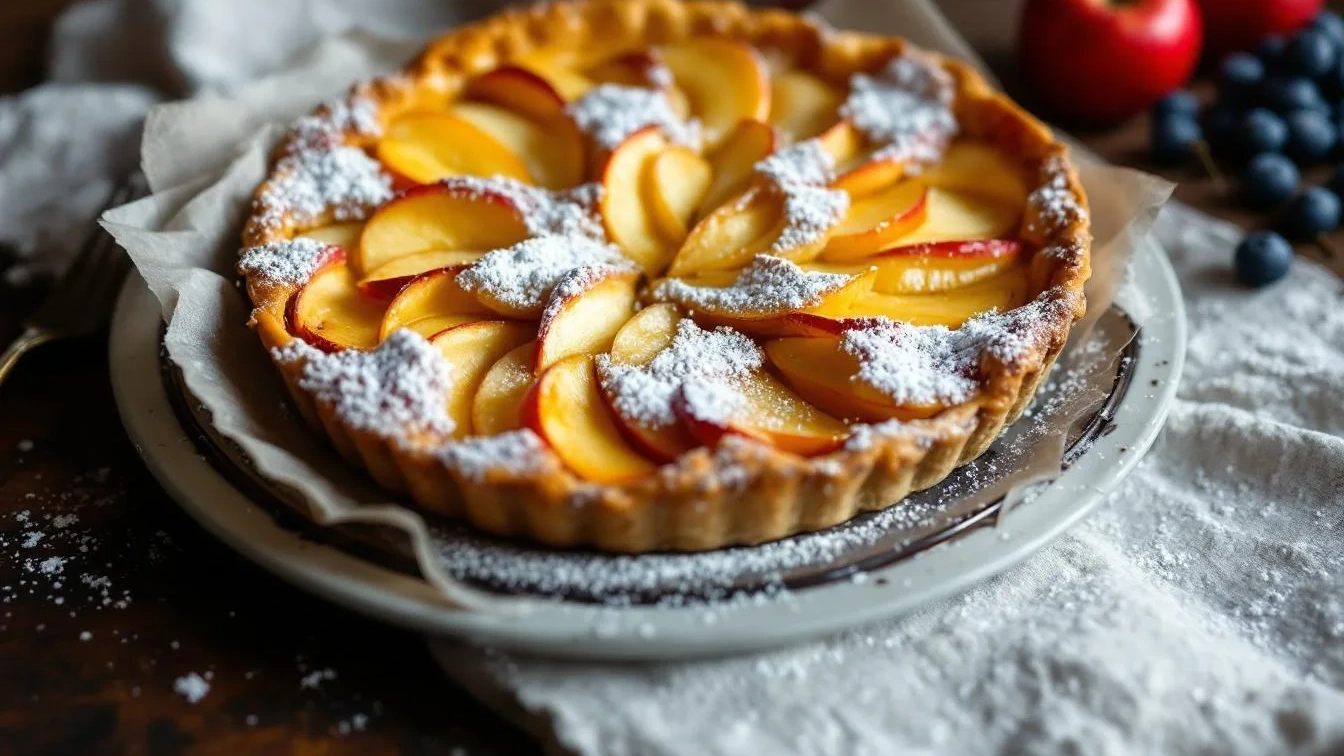
Make sure you pour your velvety apple mixture into the crust before adornment. Then it’s time to arrange your fanned apple slices on top; the aesthetic element adds that “wow” factor that every dinner guest is sure to notice!
Pop that beauty into the oven for about 30 minutes and don’t forget to brush a warm apricot glaze over the top when it comes out. That extra touch takes it from delightful to dangerously delicious.
Perfect Pairings: Elevate Your Serving Game
Now, here comes the fun part: how to serve your apple tart! I can’t help but adore the contrast that a scoop of vanilla ice cream provides. The cold creaminess works wonders against the warm tart, creating a texture paradise in every bite. Or, for a sophisticated twist, try a dollop of lightly whipped cream mixed with a hint of lemon zest. Trust me; your guests will be raving about it long after the plates are cleared.
Discovering the Joy of Baking
Baking isn’t just about following a recipe; it’s about creating memories. I remember the giggles and flours flying as my children tried to help in the kitchen, with sticky hands and flour-dusted cheeks. This apple tart recipe is not just about the dessert but about crafting moments of joy within my home.
So grab your apron, channel your inner Julie Andrieu, and embrace the simplicity of this apple tart. You won’t just be baking; you’ll be creating a slice of happiness that everyone will cherish. The aromas, the flavors, and the smiles—it’s all waiting for you.
Remember, every baking adventure comes with its share of mistakes. Don’t sweat them. Instead, learn, innovate, and enjoy the journey. After all, the best kind of memories are the ones made around the kitchen.